Glitter Town Dolly's | home
The News Room | Twinkle Toes Newsletter | Challenge Dolls! | Challenges! | Freebies | The Doll Shop! | Glittertown University | Get In Touch! | Scholarship Auction! | EF for AFIC Challenge
Freebies

Zadora, Pincushion Lady or Shelf Sitter
Materials:
Scraps of doe suede, cotton fabric, cardboard, Hair, beads and polyfill. And last but not least your Face Painting kit.
Freezer paper, marker and sewing supplies.
Begin:
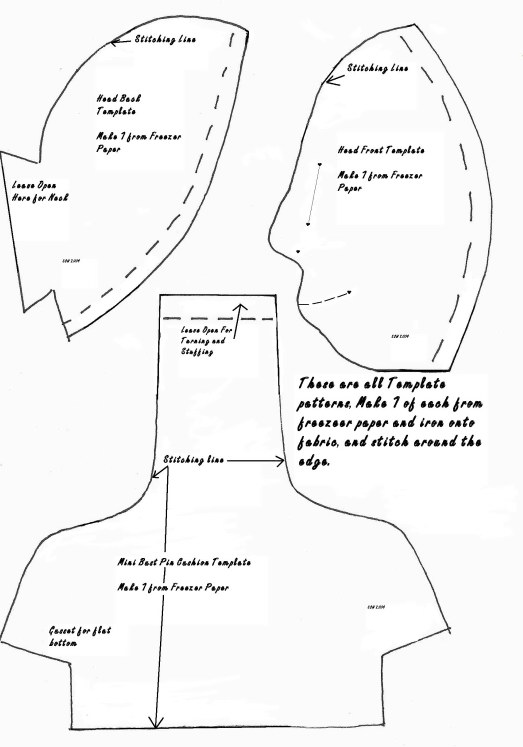
Trace all pattern pieces except for the 5 inch circle onto freezer paper and cut out.
Iron the bust piece, front and back head pieces onto doe suede.
Head; sew along the front profile edge of the freezer paper with small stitches. Sew the center back seam, leaving an opening for turning and stuffing. Cut these out leaving a 1/4 or 1/8 inch seam allowance. Match the top and bottom seam and stitch together using a 1/4 inch seam. Turn and stuff firmly.
Bust; Stitch around leaving the top of neck and the bottom corners open. Cut out leaving 1/4 to 1/8 inch seam allowance. Separate the fabric and match the corners at the seams to make a flat corner and stitch across. Turn and stiff firmly, gather the neck closed.
Attach the head by sliding the neck inside the head opening and stitch around to hold in place.
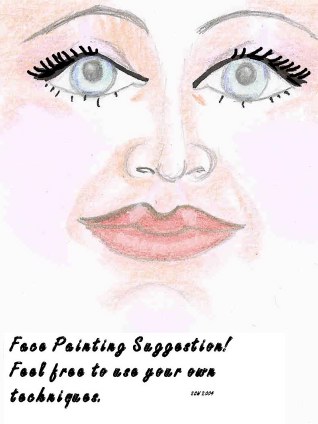
Using a brown pencil draw on your facial features. I have included a drawing for a suggested face, but feel free to use your own. I use a brown pencil because it will blend in with the other colors as you add and blend. I also do my adding in lawyers.
The dress the shoulders cut 2 / 4 inch squares of fabric. Fold diagonally. Form a point at the front and gently swoop the front up onto the shoulders, bring together in the back. Hold in place with pins until you can stitch all in place. Cut away any excess fabric as you form it over the bust. Using your brown pencil draw a center line into a Y, shade and blend it. Highlight under the Y for a realistic look.
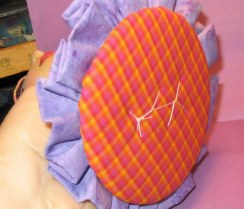
Prepare the base; Cut a 5 inch circle from cardboard and a 7inch circle from fabric. Run a gathering stitch around the edge of the fabric and pull up tight over the cardboard and tie off.
Ruffle: I used a 1/4 yard of 45 inch wide fabric, seamed into a tube, folded in half and gather tightly in the center. I then glued it inplace. You can however use lace for this also.
Using a heavy cord and thick needle, stitch the doll to the center of the ruffle and tie tightly. You can cover the threads on the bottom with felt if you choose, I did not do that.
Add some Hair to the back of the head at the neck. I used some curly pigtails from a wig I had. Worked pretty nice don't you think!!

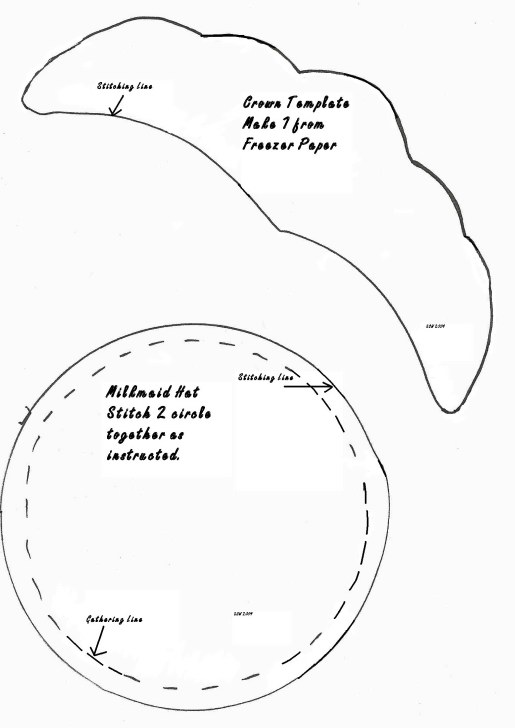
Hat and Crown; Layer two fabric together and stitch a 4 inch circle. Separate the layers and cut a slit in one layer only. Turn and press flat. Run a gathering stitch around the edge and add a bit of pollyfill to fill it out. Pull gathers up tightly around the head and stitch to the head in a could of places. Crown is made very similar only following the crown pattern piece. Center it on the front of the head and glue or stitch in place.
Give her some beads for a necklace and wala! I gave mine the latest style in jewelry by tying a bow onto a pearl string. Looks dandy don't you think!
This block should measure 8 1/2" by 6"
This one should meaure the same as above.
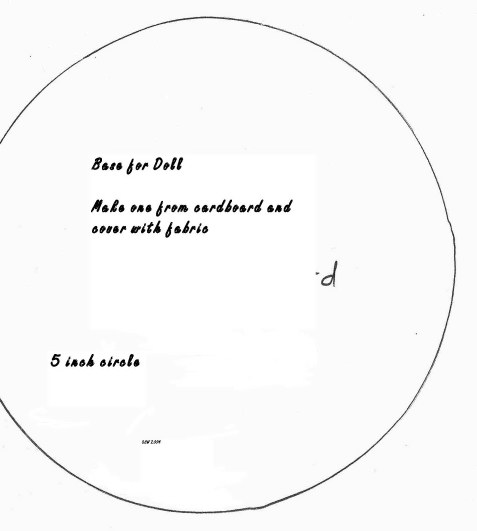
This is a 5 inch circle.
Have fun and enjoy my lady Pin Cushion. I would love to have photos to put up on this site of your finished lady.
| home
The News Room | Twinkle Toes Newsletter | Challenge Dolls! | Challenges! | Freebies | The Doll Shop! | Glittertown University | Get In Touch! | Scholarship Auction! | EF for AFIC Challenge
Built by Sandra Corson-Walker